


Anime - Manga

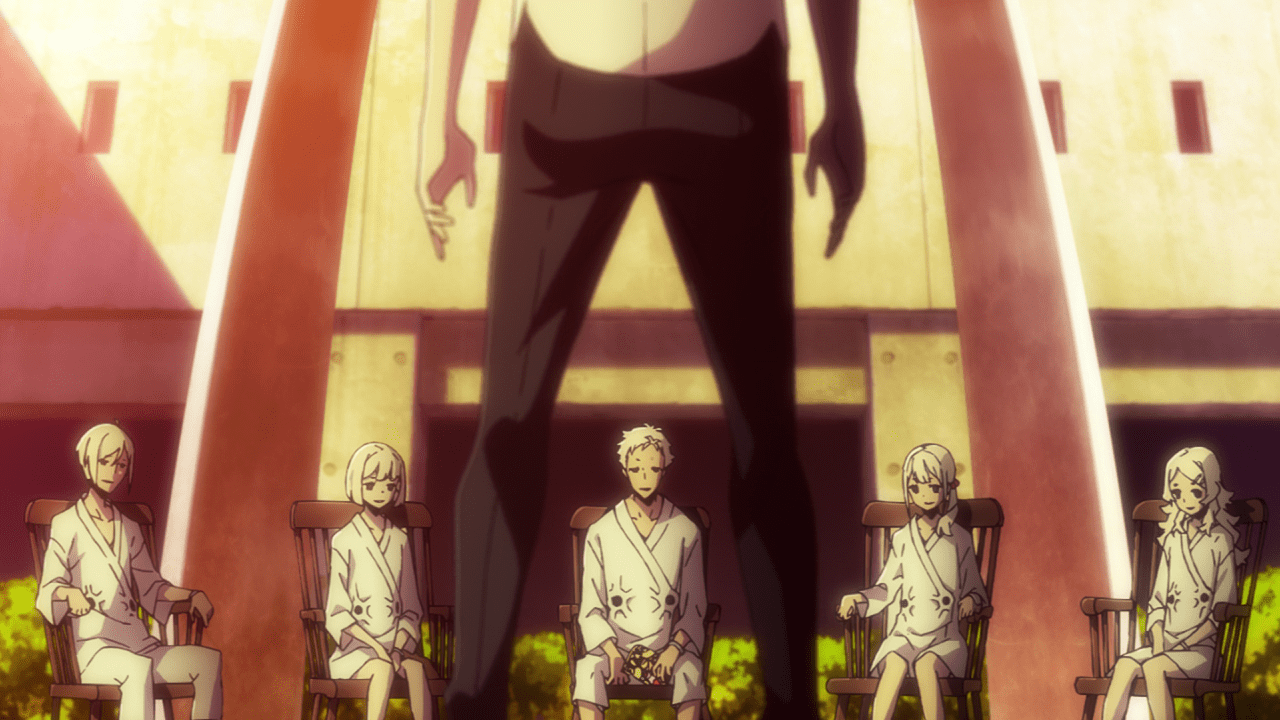
Blue Lock: Top 10 tiền đạo xuất sắc nhất xếp hạng
Bạn có phải là một fan hâm mộ cuồng nhiệt của Blue Lock, bộ truyện tranh ly kỳ đã gây bão trong thế giới anime không? Nếu bạn giống chúng tôi, bạn luôn tìm kiếm điều quan trọng tiếp theo trong môn thể thao này và Blue Lock chắc chắn mang đến sự miêu tả […]


Ẩm Thực

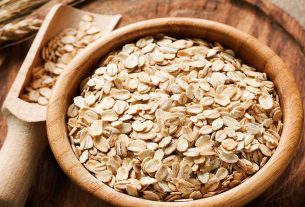
5 cách rang tôm ngon, đậm đà mà không tanh, cực kỳ lãng phí
Tôm chiên xù là món ăn khoái khẩu của nhiều người. Thịt tôm đậm đà, ăn với cơm trắng thì ngon vô cùng. Tham khảo cách rang tôm thơm ngon, đậm đà mà không tanh mà Bếp Eva giới thiệu ngay sau đây. Mẹo chọn tôm rang ngon Tôm để rang có […]

Ăn ca như bữa cơm gia đình
“Chúng tôi vô cùng phấn khởi khi công đoàn của công ty ngày càng gần gũi và đồng cảm hơn với người lao động. Đặc biệt, hoạt động phối hợp nâng cao chất lượng bữa ăn ca đã góp phần thúc đẩy hiệu suất làm việc của người lao động, giúp công ty phát triển […]


Nhạc Âu Mỹ

Soledad với “thương hiệu” Westlife nổi tiếng thế giới
Âm nhạc là một phần tất yếu của cuộc sống, nó giúp bạn cảm thấy thoải mái hơn và có được những giây phút sâu lắng trong tâm hồn. Âm nhạc của Westlife – nhóm nhạc nam nổi tiếng thế giới đã đem đến cho người nghe nhiều cung bậc cảm xúc từ buồn vui […]